CHECKERBOARD CAKE


This is the fifth time I am making this cake. Every time I make it, I would tell myself that this would be the last time I would make this cake; it's so time-consuming. But this time, it was different. I decided to give it one last try and planned a lot about making it more manageable. And voila, it was a success, and I will be making it again and again. I used the chiffon cake recipe and method for this.
RECIPE
- 3, 9-inch cake pans with a 3-ring divider.
For the Vanilla /white batter
- 1 cup cake flour, plus more for coating the pan(for cake flour combine 3/4cup +2Tbsp all-purpose flour with 2Tbsp.cornflour)
- 1 teaspoon baking powder
- 1/2 teaspoon fine salt
- 1/4 cup vegetable oil
- 1/3 cup water
- 1 teaspoon vanilla extract
- 3 large eggs, whites, and yolks separated
- 3/4 cup granulated sugar
For the Chocolate batter
- Take 1 cup of all-purpose flour and remove 5 tbsp. flour, add 2 Tbsp. Dutch-processed powder and 2 tbsp. Cornflour makes the cake flour alon,g with cocoa powder. The rest of the ingredients are the same.
My Action Plan
- Here, we must make two different batters, which is what we must plan. Otherwise, it is hectic.
- Do read the chiffon cake recipe before making this.
- Line the 3 pans with parchment paper at the base. (do this ahead)
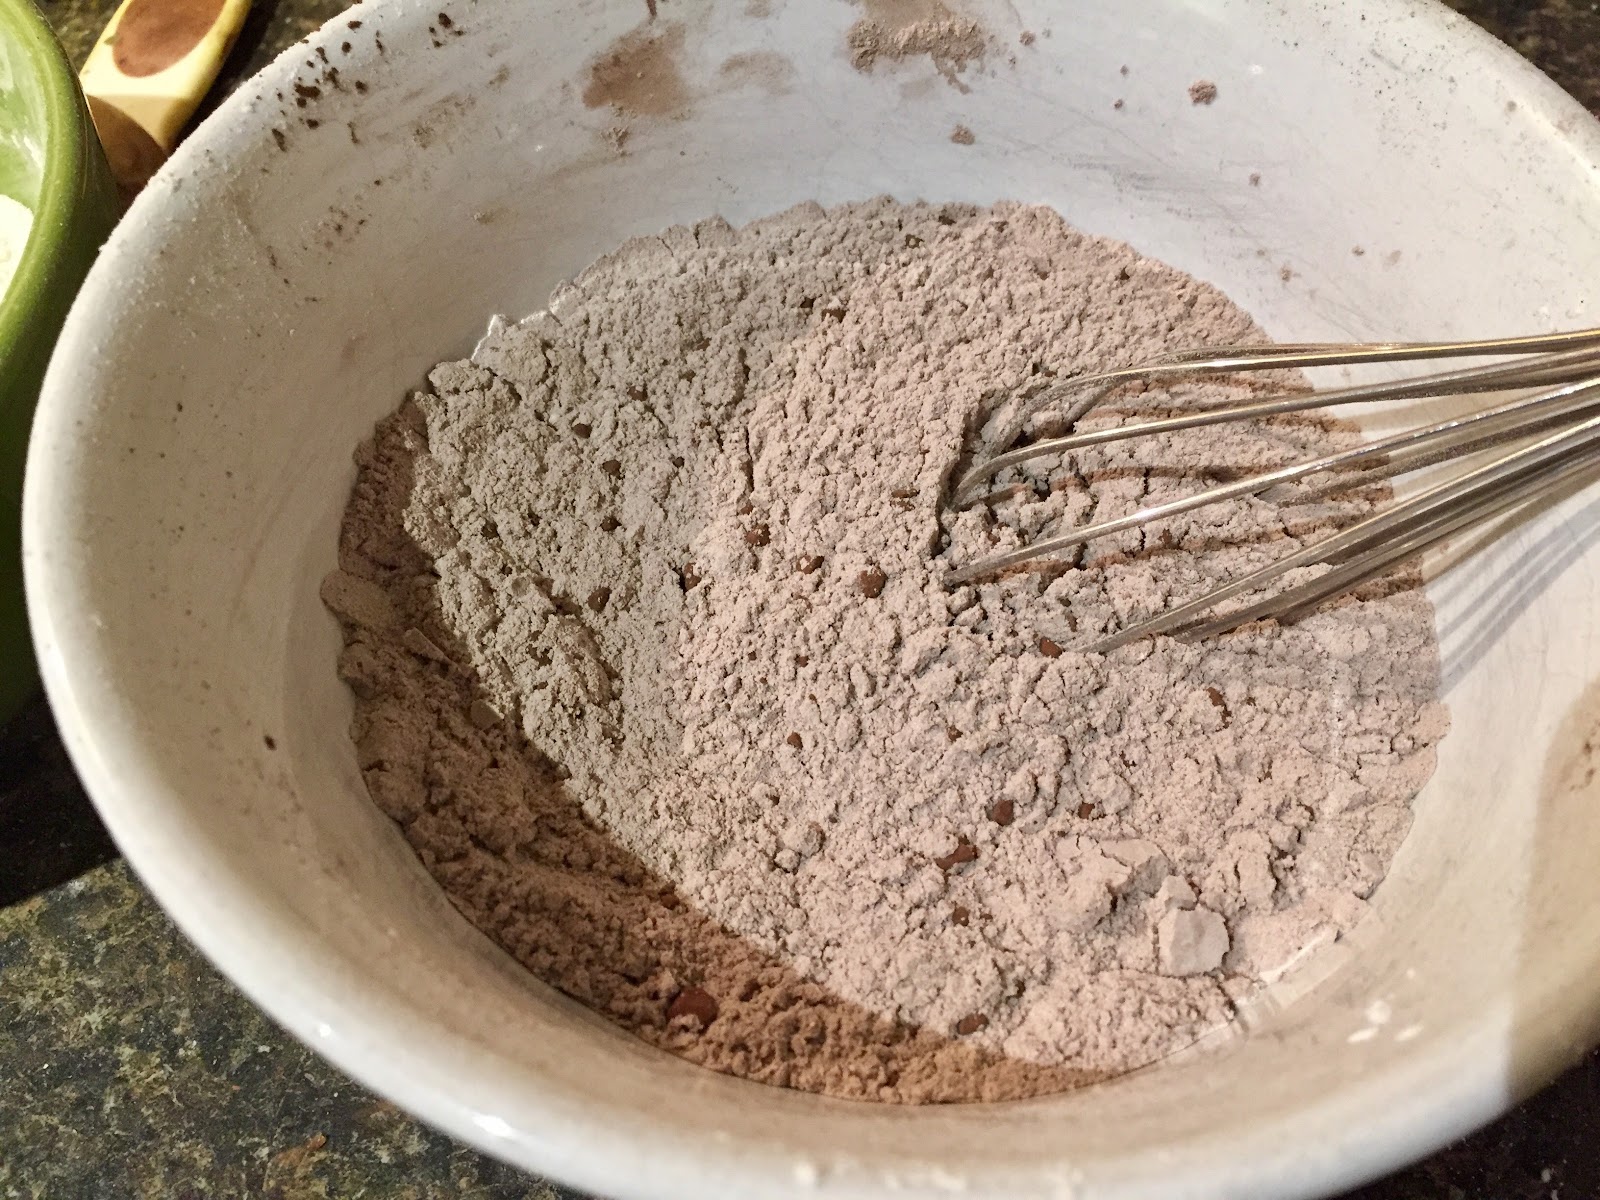
- Mix the dry ingredients in separate bowls for the vanilla and the chocolate batter. Make this ahead.


- Two separate bowls are needed for the vanilla batter and the chocolate one.

- For the batters, together, there are 6 eggs. Separate the whites and yolks. Three whites in the vanilla batter bowl and three in the chocolate batter bowl. 3 egg yolks in one bowl each with 1 tsp each of vanilla essence.
- Beat the egg whites in each bowl for the chiffon cake recipe and the corresponding amount of sugar. It's better to beat the egg white and sugar in both bowls so that the same beater can be used for the whole process. (without washing!)

- Drop the egg yolks in each bowl, beat, followed by oil, and beat.
- So now we have two bowls with all the wet ingredients except the water mixed in.

- Now beat in the dry ingredients for the vanilla batter, followed by the water. Then, beat in the dry ingredients for the chocolate batter, followed by water.

- So, the vanilla batter and the chocolate batter are ready.
- Now pour into the pans

- Preheat the oven to 325 degrees F for 15 minutes.
- In the first pan with the divider, pour the vanilla into the outer ring, the chocolate into the second ring, and the vanilla into the center ring.


- Take out the divider and put it in the second pan. Repeat the same process of pouring the batter into the second pan. Remove the divider and place it in the third pan.
- In the third pan, vice versa. Chocolate in the outer, vanilla in the second, and chocolate in the center.
- In all the pans, pour only till it is 2/3 rd full.


- Place all three cake pans on the same rack. Bake all three cakes at 325 degrees F for 18 to 20 minutes or until a toothpick inserted comes out clean.


- Cover the cakes with kitchen towels until cool.


- The top part and the bottom part of the cakes look like this.

- The bottom line is this.
- I made the cakes the first day, inverted them into plates, kept them covered with the pans, and stacked them for storage.

- The next day, I made the chocolate frosting. I followed the recipe on the cover of the Hershey's powder pack.

- To assemble the cake, place the cake with the outer vanilla flavor first, slather a thin layer of the chocolate frosting, followed by the cake with the chocolate in the center, slather a thin layer of the chocolate frosting, and the third cake left. Slather a thin layer of chocolate frosting.


- Cover the top and the sides of the cake with frosting.


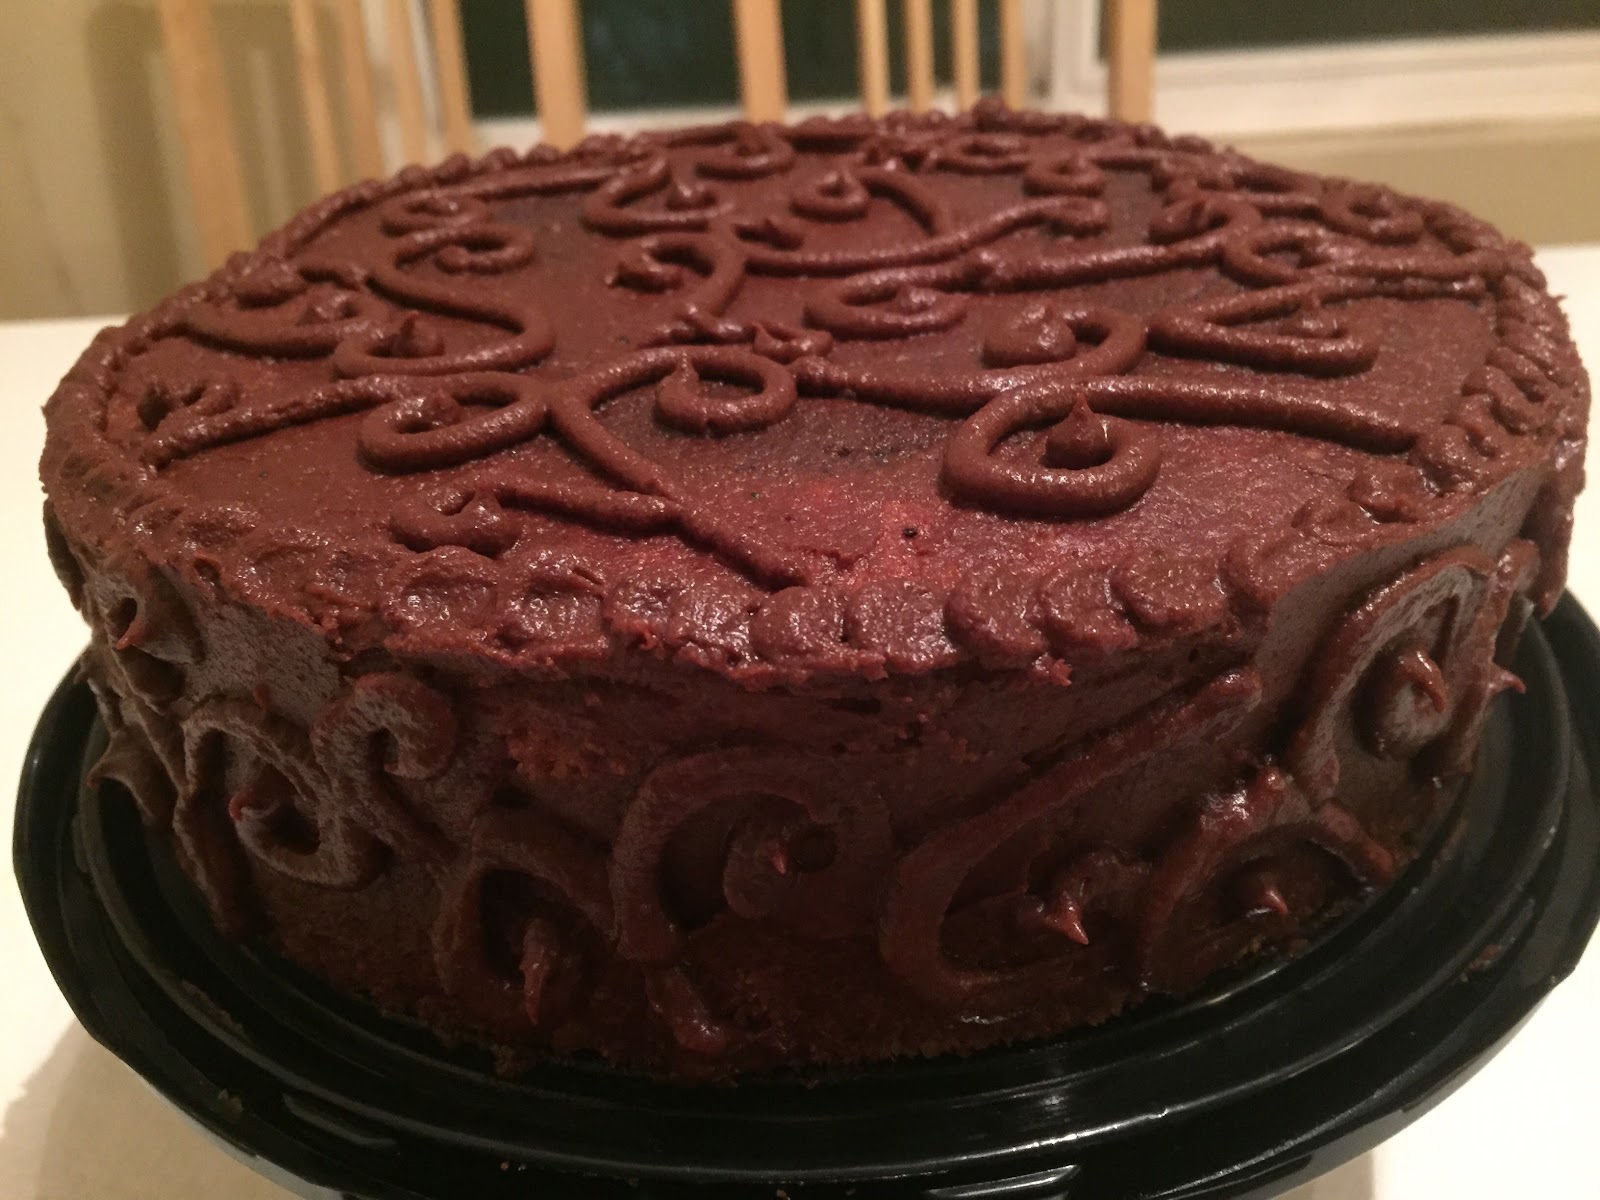
- I was not sure what design I wanted to do. Tried a comb design on the sides.


- Then finally decided to do some free-hand stenciling. So took my piping bag, fitted the round piping tip, and filled the frosting. Used a tall champagne glass to stand the piping bag and fill it in.


- Just did a free-hand design on the top and sides.


- Finally, it was a success. I bought the checkerboard cake pans about a year ago. Before that, I made my divider by cutting three thick papers into three rings of different sizes and covering them with plastic cling films. It came out well.
- I made the checkered board cake without the divider rings by baking 2 cakes, one chocolate and one vanilla. I found this method here.
- There will be some batter left, with which I make muffins.
- Dutch-processed cocoa powder is preferred because it gives that distinct color that stands out in the checkerboard cake.


Comments